10 Creative Container Gardening Ideas for Small Spaces
Living in a small space doesn’t mean you have to give up your gardening dreams. Container gardening opens up endless possibilities for growing plants anywhere.
Whether you’re working with a tiny balcony, a small patio, or just a sunny windowsill, you can create a thriving garden.
These creative ideas will help you maximize your space and grow more plants than you ever thought possible.
Get ready to transform your compact area into a green oasis that brings joy and fresh produce to your daily life.
1. Build a Vertical Wall Garden System
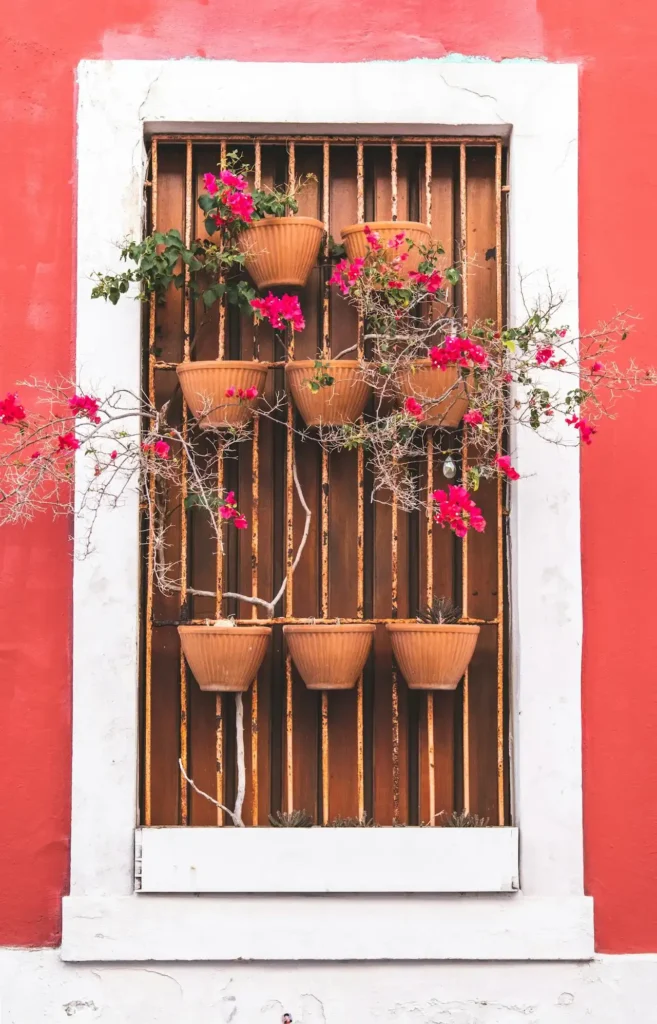
Transform any blank wall into a living masterpiece with a vertical garden system.
You can create this space-saving wonder using pocket planters, wooden pallets, or modular planting systems that stack vertically against walls or fences.
Start by selecting a wall that receives adequate sunlight for your chosen plants. Choose plants with similar water and light requirements for each vertical section.
Mount sturdy brackets or use a freestanding frame system that won’t damage your rental property.
Fill each pocket or container with lightweight potting mix to prevent excessive weight on your structure.
Trailing plants like strawberries, cherry tomatoes, and herbs work exceptionally well in vertical systems.
Position heavier plants toward the bottom and lighter ones toward the top for better stability.
Water your vertical garden from the top down, allowing excess water to drip to lower levels.
This efficient watering method ensures all plants receive moisture while conserving water. Install a drip tray at the bottom to protect your floors or surfaces from water damage.
2. Repurpose Household Items as Unique Planters
Your home contains countless potential planters waiting for a second life. Consider the container’s material when selecting plants.
Old rain boots, colanders, tea tins, and even worn-out denim jeans can become charming containers for your plants.
Drill drainage holes in any container that doesn’t already have them. This crucial step prevents root rot and keeps your plants healthy.
Use a drill bit appropriate for your container material, and add several holes spaced evenly across the bottom.
Large household items like old wheelbarrows, wooden crates, or metal buckets create stunning focal points for larger plants.
Smaller items such as mason jars, coffee cans, or ceramic bowls work perfectly for herbs and small flowering plants.
Metal containers heat up quickly in direct sunlight, making them ideal for heat-loving plants but potentially harmful to delicate varieties.
Wooden containers retain moisture longer and work well for plants that prefer consistent soil moisture.
3. Create Tiered Container Systems
Maximize your growing space by building tiered container systems that create multiple planting levels in the same footprint.
Use plant stands, wooden shelves, or stacked containers to create these multi-level gardens.
Build your tiers using containers of decreasing sizes, with the largest at the bottom and smallest at the top.
This pyramid structure ensures adequate sunlight reaches all levels while creating visual interest in your space.
Place taller plants in back containers and shorter ones in front to prevent shading. Consider mobility when designing your tiered system.
Sun-loving plants should occupy the highest tiers, while shade-tolerant varieties can thrive in lower, more sheltered positions.
Water management becomes crucial in tiered systems. Start watering from the top tier and work your way down, allowing excess water to benefit lower levels.
Place saucers under each container to catch drips and prevent water damage to lower tiers.
Use wheeled plant caddies or lightweight materials that allow you to rearrange your garden as seasons change or your needs evolve.
4. Install Hanging Gardens and Suspended Planters
Utilize the often-overlooked vertical space above your head by installing hanging gardens.
This approach works brilliantly for trailing plants and creates a lush, jungle-like atmosphere in small spaces.
Select appropriate hanging hardware based on your ceiling or structure type. Use heavy-duty hooks rated for more weight than your fully watered containers.
Choose containers with good drainage and attach saucers to prevent water from dripping onto furniture or floors below.
Coconut fiber-lined hanging baskets provide excellent drainage while adding natural texture to your space.
Position hanging gardens at varying heights to create visual depth and ensure adequate light distribution. Remember that wet soil weighs significantly more than dry soil.
Higher baskets can house sun-loving plants, while lower ones work well for shade-tolerant varieties.
Water hanging plants carefully to avoid overwatering, as excess moisture has nowhere to drain except down.
Use a watering can with a long spout or a hose attachment to reach elevated containers safely.
5. Design a Container Herb Spiral
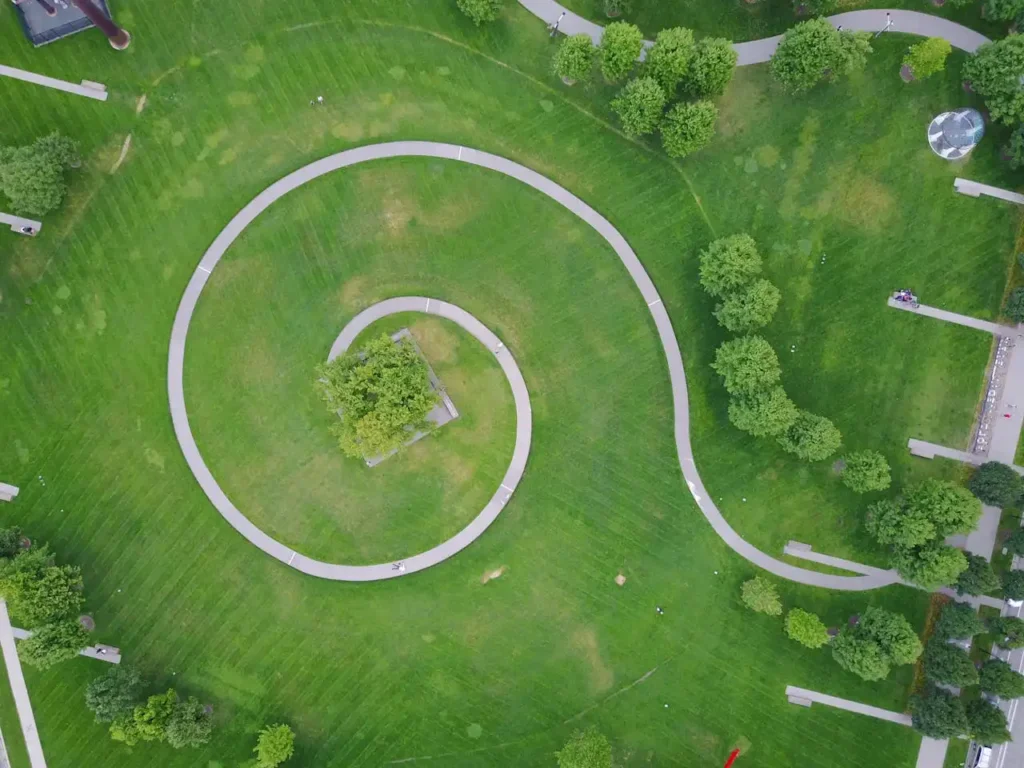
Create a space-efficient herb garden by arranging containers in a spiral pattern that maximizes growing area while providing easy access to all plants.
This design mimics traditional herb spirals but uses containers for ultimate flexibility.
Start with a large container in the center, then arrange progressively smaller containers around it in a spiral pattern.
This configuration creates microclimates with different sun and shade conditions, perfect for various herbs with different needs.
Place Mediterranean herbs like rosemary, thyme, and oregano in containers that receive full sun and have excellent drainage.
Position moisture-loving herbs like parsley, cilantro, and chives in containers that receive some shade and retain moisture better.
Connect your containers with decorative elements like small stones, wooden planks, or colorful tiles to create pathways between plants.
This addition makes maintenance easier while adding visual appeal to your herb spiral.
Rotate containers seasonally to give all herbs equal access to optimal growing conditions.
This flexibility represents one of the greatest advantages of container herb spirals over traditional in-ground versions.
6. Build Miniature Fairy Gardens
Transform small spaces into magical worlds by creating miniature fairy gardens in containers.
These enchanting displays combine gardening with creativity, making them perfect for engaging children or adding whimsy to adult spaces.
Choose a wide, shallow container with good drainage as your fairy garden base. Large ceramic bowls, wooden boxes, or even old drawers work wonderfully for this purpose.
Ensure your container is at least 6 inches deep to accommodate plant roots. Select small plants that will remain compact and won’t outgrow your miniature landscape.
Succulents, small ferns, moss, and dwarf varieties of common plants work best. Avoid fast-growing plants that will quickly overwhelm your tiny scene.
Add miniature accessories like tiny houses, bridges, furniture, and figurines to create storytelling elements.
Use natural materials like small stones, twigs, and shells to build realistic landscape features.
Position your fairy garden where it receives appropriate light for your chosen plants while remaining visible for maximum enjoyment.
These magical containers work well as centerpieces or conversation starters in any small space.
7. Maximize Window Box Potential
Window boxes aren’t just for windows anymore.
Use these versatile containers on railings, balcony edges, or attach them to walls to create productive growing space without using floor area.
Select window boxes with adequate depth for your chosen plants. Ensure boxes have drainage holes and use saucers to protect surfaces below.
Shallow boxes work for lettuce and herbs, while deeper ones can accommodate root vegetables and larger flowering plants.
Plan your window box plantings based on the direction your window faces. Fall boxes can extend your growing season with cold-hardy crops.
South-facing boxes receive intense sunlight perfect for tomatoes, peppers, and sun-loving herbs. North-facing boxes work better for leafy greens and shade-tolerant plants.
Create seasonal displays by changing plants throughout the year.
Spring boxes might feature cool-season vegetables and flowers, while summer boxes can showcase heat-loving varieties.
Secure window boxes properly to prevent accidents. Use sturdy brackets rated for the weight of fully watered containers, and check mounting hardware regularly to ensure continued safety.
8. Design Rolling Mobile Gardens
Create flexibility in your small space by building mobile container gardens on wheels.
This approach allows you to move plants to follow sunlight, protect them from harsh weather, or rearrange your space for different activities.
Use plant caddies with sturdy wheels rated for outdoor use and heavy loads. Choose caddies with locks to prevent unwanted rolling, especially on sloped surfaces or in windy conditions.
Group compatible plants together on each mobile unit based on their water, light, and nutrient requirements.
This organization makes care routines more efficient while ensuring optimal growing conditions for each plant group.
Consider the weight distribution when loading your mobile gardens. Design pathways in your space that accommodate your mobile gardens.
Place heavier containers toward the center and lighter ones around the edges for better stability and easier maneuvering.
Ensure you have smooth surfaces and adequate turning radius for easy movement without damage to plants or surrounding items.
9. Install Self-Watering Container Systems
Reduce maintenance while improving plant health by creating or purchasing self-watering container systems.
These ingenious designs provide consistent moisture levels while preventing both overwatering and underwatering.
Build simple self-watering systems using two containers of different sizes. A wick system draws water up to plant roots as needed.
Place the smaller container with drainage holes inside the larger one, creating a water reservoir in the bottom.
Commercial self-watering containers offer more sophisticated systems with water level indicators and larger reservoirs.
These investment pieces work exceptionally well for busy gardeners or vacation plant care.
Fill reservoirs with water every few days to weeks, depending on container size and plant needs.
This low-maintenance approach frees up time while ensuring consistent plant care, especially during hot weather or extended absences.
Monitor plants carefully when first using self-watering systems to ensure proper moisture levels.
Adjust reservoir sizes or wick materials based on your specific plants’ water requirements and environmental conditions.
10. Practice Companion Planting in Large Containers

Maximize productivity and plant health by combining compatible plants in large containers.
This space-efficient approach mimics natural plant relationships while providing multiple harvests from single containers.
Choose containers at least 20 inches wide and deep to accommodate multiple plants with different root systems.
Large ceramic pots, wooden half-barrels, or fabric grow bags work well for companion planting projects.
Plant combinations like tomatoes with basil, carrots with chives, or lettuce with radishes create mutually beneficial relationships.
These partnerships can improve flavor, pest resistance, and space utilization in your containers.
Consider plant heights and growth habits when planning companion containers. Plan succession plantings within companion containers to maintain continuous harvests.
Place taller plants toward the center or north side of containers, with shorter plants around the edges to ensure adequate sunlight for all varieties.
As quick-growing crops like radishes finish, replace them with new seedlings to keep containers productive throughout the growing season.
Conclusion
Container gardening transforms any small space into a productive, beautiful garden that brings nature closer to your daily life.
Start with one or two ideas that excite you most and expand your container garden as you gain confidence and experience.

