DIY Accent Wall Ideas That Instantly Elevate Any Room
You walk into a room and something feels missing. The space looks fine, but it lacks that special spark that makes you stop and admire it.
Creating an accent wall might be exactly what your room needs. These feature walls transform ordinary spaces into stunning showcases without breaking your budget.
The best part? You can tackle most of these projects yourself with basic tools and a weekend’s worth of effort.
Ready to discover which accent wall idea will completely change your space?
Paint Your Way to Drama
Geometric Patterns That Pop
Geometric accent walls create instant visual interest and modern appeal. You can achieve this look with painter’s tape, a level, and two or more paint colors that complement your existing decor.
Start by choosing your base color – typically the lighter shade works best as your foundation.
Paint the entire wall with this color and let it dry completely. Next, map out your geometric pattern using pencil marks and a ruler.
Triangle patterns work beautifully behind beds or sofas. Create large triangles that span from floor to ceiling, or opt for smaller, repeating patterns for a more intricate look.
Hexagons offer another striking option that adds honeycomb-inspired sophistication to any room.
Apply painter’s tape along your pencil lines, pressing the edges firmly to prevent paint bleeding.
Paint over the tape with your accent color, then remove the tape while the paint is still slightly wet for crisp, clean lines.
Ombre Magic on Your Walls
Ombre walls bring a dreamy, gradient effect that adds depth and visual interest to any space.
This technique works particularly well in bedrooms and living rooms where you want to create a calm, sophisticated atmosphere.
Choose three shades of the same color family – light, medium, and dark. Start with the lightest shade at the top of your wall and work downward.
Apply the lightest color to the top third of your wall using a roller. While the paint is still wet, blend in the medium shade using horizontal brush strokes.
Work quickly and blend the colors where they meet to create a seamless transition. Repeat this process with the darkest shade at the bottom third of your wall.
Use a dry brush to soften any harsh lines and create that perfect gradient effect. The key to success lies in working while the paint remains wet and blendable.
Bold Stripes for Classic Appeal
Striped accent walls never go out of style and work in virtually any room. Vertical stripes make ceilings appear higher, while horizontal stripes can make narrow rooms feel wider.
Measure your wall and divide it by your desired stripe width to determine how many stripes you’ll have. Use a level and pencil to mark your stripe boundaries across the entire wall.
Apply painter’s tape along every other stripe line, creating the stripes you’ll paint with your accent color.
Press the tape edges down firmly and paint a thin coat of your base color over the tape edges to seal them.
Once this sealing coat dries, apply your stripe color. Remove the tape while the final coat is still slightly wet to avoid peeling.
Navy and white stripes create nautical charm, while black and white combinations offer timeless elegance.
Wallpaper and Wall Decals
Peel-and-Stick Wallpaper Solutions
Modern peel-and-stick wallpapers make accent walls incredibly accessible for renters and homeowners alike.
These removable options come in hundreds of patterns, from bold florals to subtle textures.
Measure your wall carefully and order slightly more wallpaper than you need to account for pattern matching and mistakes.
Clean your wall thoroughly and ensure it’s completely smooth before application.
Start at the top corner of your wall and work downward, smoothing out air bubbles as you go.
Use a plastic squeegee or credit card wrapped in cloth to eliminate bubbles and ensure proper adhesion.
Grass cloth-textured peel-and-stick wallpaper adds natural warmth to dining rooms and bedrooms.
Geometric patterns work beautifully in home offices and kids’ rooms, while marble or brick patterns can transform bathrooms and kitchens.
Wall Decals for Instant Impact
Wall decals offer the quickest way to create an accent wall without any permanent changes.
Large-scale decals can cover entire walls, while smaller designs let you create custom patterns.
Tree silhouettes work beautifully in bedrooms and living rooms, creating a nature-inspired focal point.
City skylines add urban sophistication to home offices and teenage bedrooms. Clean your wall surface with rubbing alcohol before applying decals to ensure proper adhesion.
Use a level to ensure straight placement, and smooth out air bubbles with a credit card or squeegee.
For custom looks, combine multiple smaller decals to create your own unique pattern.
Butterfly collections, geometric shapes, or inspirational quotes can transform blank walls into personal expressions of your style.
Wood Accent Walls
Shiplap for Farmhouse Charm
Shiplap accent walls bring that coveted farmhouse aesthetic to any room.
You can purchase real wood shiplap or use more budget-friendly plywood cut into strips for a similar effect.
Start by locating your wall studs and marking them with a pencil. Cut your first board to fit the width of your wall, accounting for any outlets or switches.
Use a level to ensure your first board is perfectly straight – this sets the foundation for your entire wall.
Install each board with a slight gap between them to create the characteristic shiplap look.
Use a nickel or thin spacer to maintain consistent gaps. Nail boards directly into studs for the most secure installation.
Paint your shiplap white for classic farmhouse appeal, or choose gray tones for a more modern interpretation.
Dark navy or black shiplap creates dramatic sophistication in dining rooms and bedrooms.
Reclaimed Wood Character
Reclaimed wood accent walls add instant character and warmth to any space. You can find reclaimed wood at salvage yards, online marketplaces, or specialty lumber stores.
Each piece of reclaimed wood tells a story through its unique patina, nail holes, and weathered texture.
Arrange your pieces on the floor before installation to create the most visually appealing pattern.
Clean each board thoroughly and sand any rough spots that might catch clothing or cause splinters.
Apply a clear sealant to preserve the wood’s character while protecting it from moisture and wear.
Install boards horizontally, vertically, or in mixed patterns for added visual interest. Herringbone patterns create sophisticated appeal, while random-width planks offer rustic charm.
Wood Slat Modern Appeal
Wood slat walls create clean, contemporary accent walls perfect for modern and minimalist homes.
You can purchase pre-made slat panels or create your own using thin wood strips. Space your slats evenly – typically 1-2 inches apart – for the most pleasing proportions.
Mount them on a backing board for easier installation, or attach each slat individually to the wall. Vertical slats make rooms appear taller and work beautifully behind beds or in entryways.
Horizontal arrangements can make narrow rooms feel wider and add interest to long hallway walls. You can also paint wood slats to match your existing color scheme.
Choose light woods like pine or cedar for Scandinavian-inspired looks, or opt for darker woods like walnut for more dramatic effects.
Textural Accent Walls
Fabric Wall Coverings
Fabric accent walls add softness, texture, and acoustic benefits to bedrooms and living spaces. Choose tightly woven fabrics that won’t stretch or sag over time.
Measure your wall and add extra fabric for wrapping edges and corners. Stretch the fabric over thin batting for added dimension and sound absorption.
Use a staple gun to attach fabric to furring strips mounted on your wall, or apply fabric directly to drywall using fabric adhesive.
Start at the center of your wall and work outward to ensure even tension. Velvet fabrics create luxurious bedroom accent walls, while linen adds casual elegance to living rooms.
Bold patterns work well as statement pieces, while neutral textures provide subtle sophistication.
Rope and Natural Fiber Designs
Natural fiber accent walls bring organic texture and coastal vibes to your space. Jute rope, sisal, and hemp create interesting patterns while adding tactile appeal.
Create geometric patterns by arranging rope in squares, diamonds, or wave patterns across your wall. Use construction adhesive or small nails to secure rope in place.
For full coverage, wrap rope around horizontal furring strips mounted to your wall. Start at the bottom and work upward, keeping rows tight and even.
This technique works particularly well in bathrooms and bedrooms. Combine different natural fibers for added visual interest.
Thick jute rope paired with thinner hemp cord creates layered texture that catches light beautifully throughout the day.
Gallery Walls and Display Options
Curated Art Collections
Gallery walls transform collections of art, photographs, and memorabilia into stunning accent features. The key lies in thoughtful curation and strategic arrangement.
Start by laying out your pieces on the floor to experiment with arrangements.
Mix different sizes, but maintain visual balance by distributing larger pieces throughout the grouping rather than clustering them in one area.
Maintain consistent spacing between frames – typically 2-3 inches works well. Choose frames that complement each other without being identical.
Use paper templates cut to frame sizes to test arrangements on your wall before committing to nail holes.
Black frames create cohesive modern looks, while mixed metallic add eclectic charm. White and natural wood frames work well in casual, farmhouse-inspired spaces.
Floating Shelves for Dynamic Display
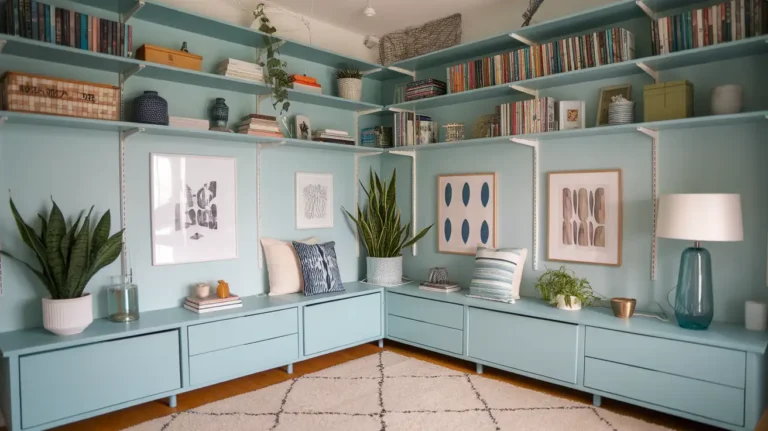
Floating shelves create accent walls that evolve with your changing collections and seasonal décor.
Install shelves at varying heights and lengths for the most dynamic visual appeal.
Use the rule of thirds when positioning shelves – avoid placing them at exact center points of your wall.
Stagger shelf lengths and create visual triangles with your arrangements. Group items in odd numbers for the most pleasing arrangements.
Mix books, plants, artwork, and decorative objects on each shelf. Vary heights and textures while maintaining a cohesive color palette.
Paint the wall behind your shelves in a contrasting color to make displayed items pop. Deep navy or charcoal walls make white and light-colored objects stand out dramatically.
Stone and Brick Effects
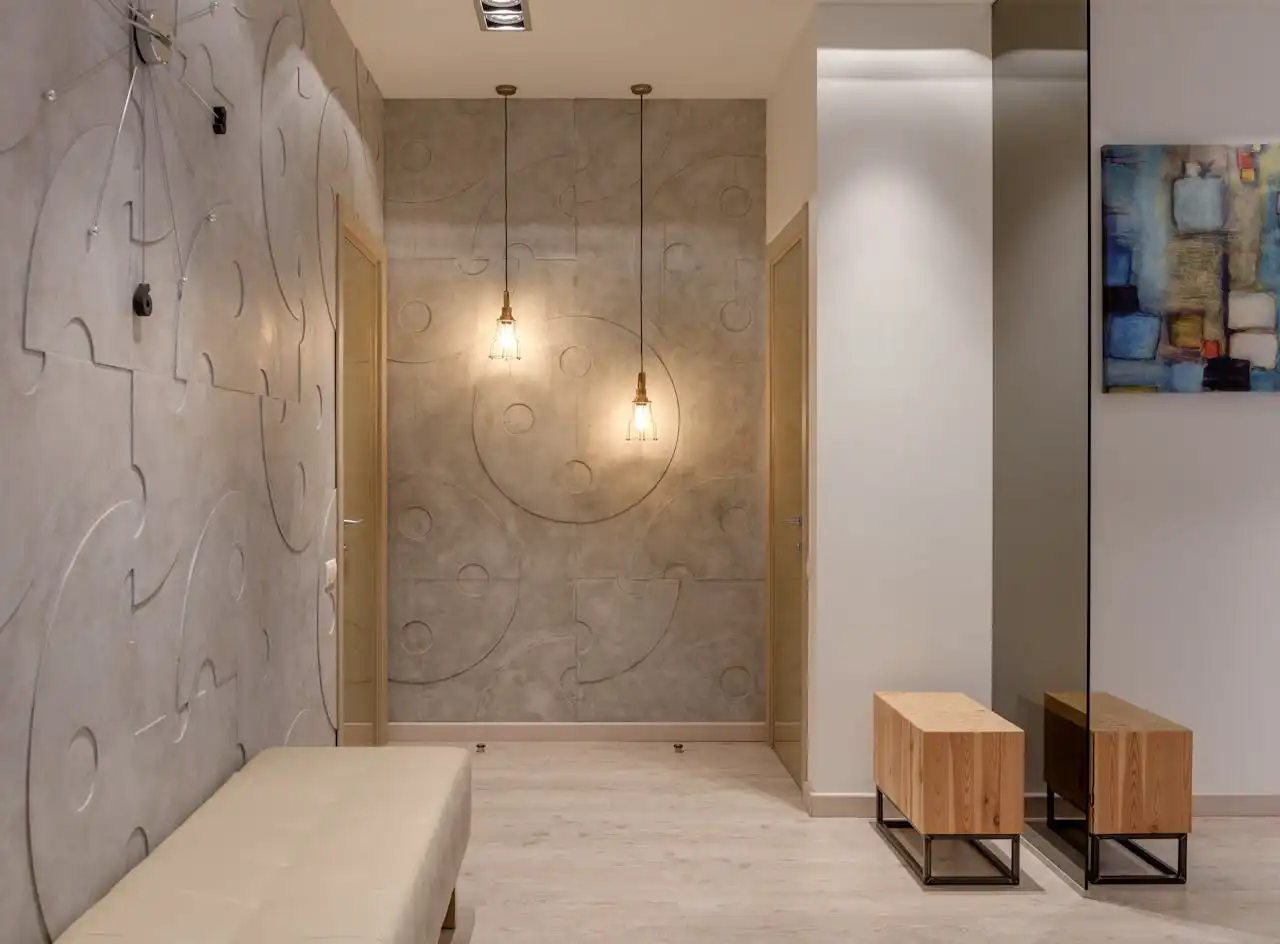
Faux Stone Techniques
Faux stone accent walls provide rustic appeal without the weight and expense of real stone.
Modern faux stone panels look remarkably realistic and install easily over existing drywall.
Choose from fieldstone, stacked stone, or brick patterns depending on your desired aesthetic.
Fieldstone works well in living rooms and bedrooms, while stacked stone suits contemporary spaces.
Cut panels with a circular saw and install them with construction adhesive and finishing nails. Seal your installation with appropriate sealers to protect against moisture and stains.
Start at the bottom corner and work across and up, staggering joints like real stone or brick.
Apply grout between panel seams for authentic appearance, or leave gaps unfilled for a more rustic look.
Exposed Brick Reveal
If your home has brick walls hidden behind drywall, exposing them creates instant character and charm.
This project requires careful planning and potentially professional help for structural considerations. Seal exposed brick to prevent dust and make cleaning easier.
Test small areas first to determine brick condition and whether exposure is feasible. Some bricks may be damaged or painted, requiring restoration work.
Remove drywall carefully to avoid damaging electrical wiring or plumbing. Clean exposed brick thoroughly and repoint mortar joints as needed for stability and appearance.
Clear sealers maintain natural brick appearance, while colored sealers can enhance or change brick tones to better match your décor.
Metallic and Reflective Accents
Metallic Paint Techniques
Metallic accent walls add glamour and light-reflecting properties that make rooms feel larger and more luxurious.
Choose from gold, silver, copper, or bronze tones to complement your existing décor. Copper adds warmth to industrial-style spaces and home offices.
Apply a base coat in a color slightly darker than your metallic finish. This base shows through the metallic topcoat and adds depth to the final result.
Use a dry brush technique or sponge application for the most natural metallic finish. Work in small sections and maintain a wet edge to avoid lap marks and ensure even coverage.
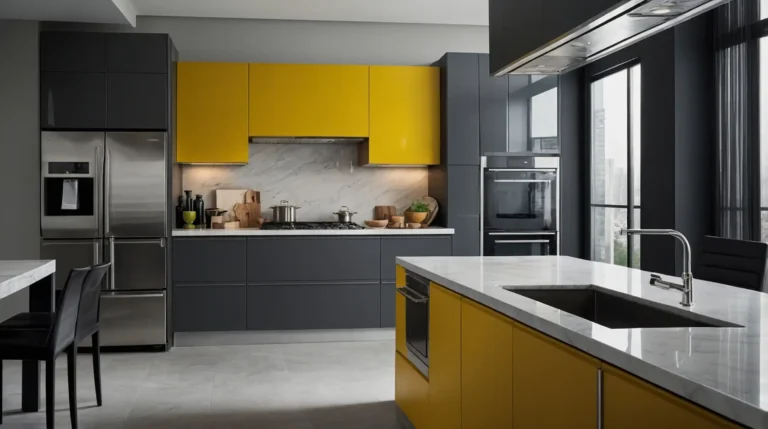
Gold metallics warm up dining rooms and bedrooms, while silver tones work well in modern kitchens and bathrooms.
Mirror Tile Magic
Mirror tiles create dramatic accent walls that reflect light and make spaces appear larger. These work particularly well in bathrooms, dining rooms, and small living spaces.
Choose from various mirror tile sizes and shapes – squares, rectangles, and hexagons offer different aesthetic appeals.
Antique mirrors add vintage charm, while clear mirrors suit contemporary spaces.
Install mirror tiles over smooth, clean walls using mirror adhesive. Work from the center outward to ensure even alignment and spacing. Use tile spacers for consistent gaps.
Consider safety glass or acrylic mirror alternatives in homes with small children. These materials provide similar reflective qualities with reduced breakage risks.
Creative and Unique Materials
Book Wall Installations
Book walls turn your literary collection into stunning architectural features. This works particularly well in home offices, libraries, and reading nooks.
Arrange books by color, size, or subject matter depending on your desired aesthetic.
Color-coordinated arrangements create dramatic visual impact, while mixed arrangements offer eclectic charm.
Install floating shelves at varying heights and depths to create visual interest. Some shelves can extend further from the wall than others, adding dimensional appeal.
Mix horizontal and vertical book arrangements with decorative objects and small plants. Leave some breathing room in your arrangements to avoid cluttered appearances.
Living Walls and Plant Displays
Living walls bring nature indoors while creating stunning focal points. These work well in bathrooms, kitchens, and any room with adequate natural light.
Choose low-maintenance plants that thrive in your specific lighting conditions. Pothos, philodendrons, and snake plants work well in lower-light situations.
Install a grid system or individual planters at various heights across your wall. Ensure proper drainage to protect your wall from moisture damage.
Combine different plant textures and colors for visual interest. Trailing plants add movement, while upright specimens provide structure to your living wall design.
Choosing the Right Wall
Consider Room Function and Flow
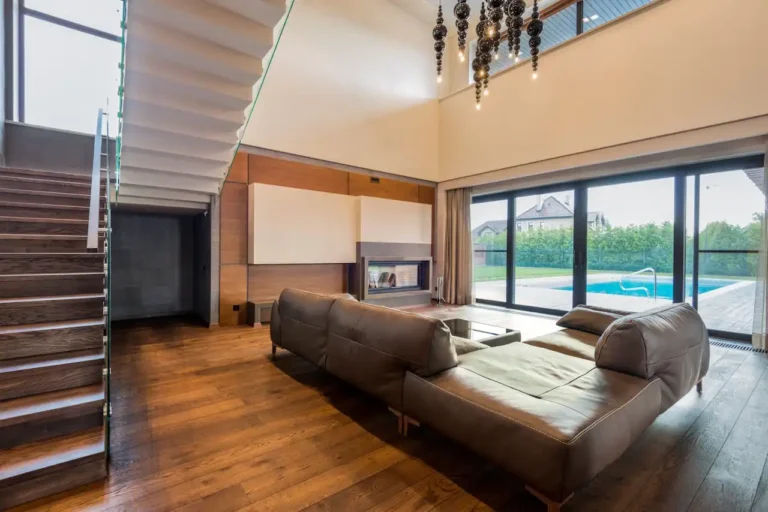
Select your accent wall based on your room’s natural focal points and traffic patterns. The wall behind your bed, sofa, or dining table typically works best for accent treatment.
Avoid walls with multiple doors, windows, or architectural interruptions unless you plan to incorporate these elements into your design.
Clean, uninterrupted walls showcase accent treatments most effectively. Consider sight lines from other rooms and main living areas.
Your accent wall should enhance rather than compete with existing architectural features and furniture arrangements.
Think about lighting conditions throughout the day. Walls that receive natural light showcase textures and colors differently than those in darker areas of your room.
Scale and Proportion Matters
Match your accent wall treatment to your room’s scale and ceiling height. Bold patterns and dark colors work well in large rooms but can overwhelm smaller spaces.
High ceilings can handle dramatic treatments like floor-to-ceiling wood planks or large-scale wallpaper patterns.
Standard ceiling heights benefit from treatments that draw the eye horizontally rather than emphasizing height limitations.
Consider your existing furniture scale when planning accent walls. Large furniture pieces can handle bold wall treatments, while delicate furnishings need subtler backdrops.
Balance busy accent walls with simpler furnishings and decor, or pair subtle wall treatments with more dramatic furniture and accessories.
Color and Design Considerations
Working with Existing Decor
Choose accent wall colors and patterns that complement rather than clash with your existing color scheme.
Pull accent colors from artwork, textiles, or accessories already in your room. Consider the 60-30-10 color rule when planning your accent wall.
Your accent wall can represent either the 30% secondary color or the 10% accent color depending on how dramatic you want the effect.
Neutral accent walls work well in rooms with colorful furnishings and artwork. Colors look different in natural versus artificial light throughout the day.
Bold accent walls pair best with neutral furniture and accessories that won’t compete for attention.
Test paint colors and wallpaper samples in your actual lighting conditions before committing to full installation.
Creating Visual Balance
Distribute visual weight evenly throughout your room to prevent your accent wall from overwhelming the space. Add smaller accent pieces on other walls to create cohesion.
Use the rule of thirds when positioning accent walls and major furniture pieces. Avoid centering everything perfectly – slightly off-center arrangements create more dynamic, interesting spaces.
Balance cool accent wall colors with warm accessories and lighting, or pair warm wall colors with cooler accents throughout the room.
Consider texture as well as color when creating balance. Smooth accent walls pair well with textured furnishings, while textured walls work best with sleeker furniture pieces.
Conclusion
Transform any room instantly with these DIY accent wall ideas that suit every style and budget.
Choose the technique that speaks to you and start creating your perfect focal point today.