11 Easy Ikea Ivar Room Divider Hacks & Ideas
Looking to divide a room in your home? Ikea’s Ivar system offers an affordable and versatile solution. With a few simple hacks, you can transform these basic shelving units into stylish room dividers.
You can easily customize Ivar panels to fit your space and style. From fabric-covered screens to storage-packed partitions, these DIY projects let you maximize functionality while adding a personal touch to your living areas.
1: Ivar Pegboard Partition

You can turn Ivar shelving into a cool pegboard partition. Attach pegboard to the sides of Ivar units.
This creates a flexible divider that lets you hang tools, plants, or decor. It’s perfect for separating spaces while adding storage.
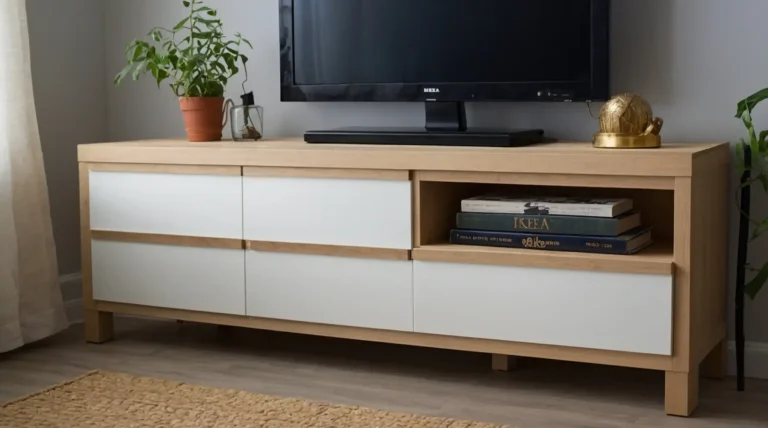
2: Two-Toned Ivar Shelf Divider

Want to spice up your Ivar shelf? Try painting it two different colors. Pick a light shade for the top half and a darker one for the bottom.
This simple trick can make your room divider more eye-catching.
You can also mix and match different wood stains instead of paint. This gives your Ivar shelf a unique, custom look that fits your style.
3: Hanging Plant Screen
You can turn your Ivar panels into a hanging plant screen. Attach hooks to the top of each panel. Hang small potted plants from the hooks.
This creates a living divider that adds greenery to your space. You can use different types of plants to suit your style.
Mix and match colors and textures for visual interest. Remember to water your plants regularly to keep them healthy.
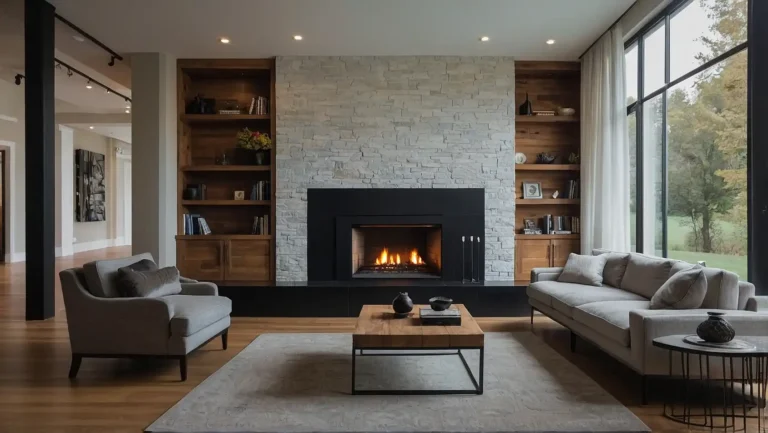
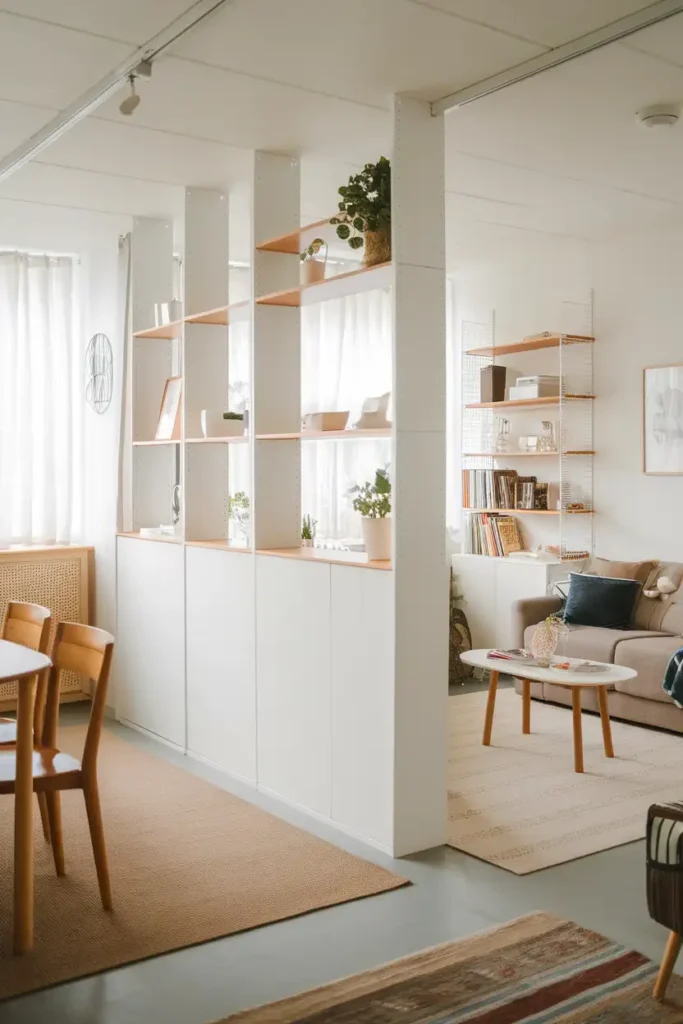
4: Bookshelf Room Separator

Want to divide your space and add storage? Turn Ikea Ivar shelves into a bookshelf room separator. Paint or stain the wood to match your style.
Add casters for easy moving. Fill with books, plants, and décor to create a functional and stylish divider.
5: Ivar Sliding Door Panel

You can turn your Ivar cabinet into a stylish room divider with sliding doors. This hack adds a modern touch to your space.
Simply attach sliding door hardware to the top of the cabinet. Then, hang custom-cut panels as doors. You can use wood, acrylic, or even fabric panels.
This creates a flexible divider that lets you open or close off areas as needed.
6: Fabric-Covered Ivar Frame

You can make a stylish room divider with Ivar frames and fabric. Pick a fabric that matches your decor. Wrap it around the Ivar panels and secure it with a staple gun.
This hack lets you customize the look of your room divider. You can change the fabric whenever you want a fresh look.
7: Painted Ivar Panels

You can transform Ivar panels with a fresh coat of paint. Pick a color that matches your room’s decor. Apply primer first for better coverage.
Use a foam roller for a smooth finish. This simple change can give your room divider a whole new look.
8: Ivar Room Divider on Wheels
Add wheels to your Ivar room divider for easy movement. Attach casters to the bottom of the unit. This allows you to roll the divider around as needed.
You can now quickly change your room layout. It’s perfect for flexible spaces or events.
9: Mirror-Backed Ivar Divider

Want to make your room look bigger? Try adding mirrors to your Ivar divider. This trick makes spaces feel more open and bright.
To do this, attach mirror panels to the back of your Ivar unit. You can use adhesive or small brackets to secure them in place.
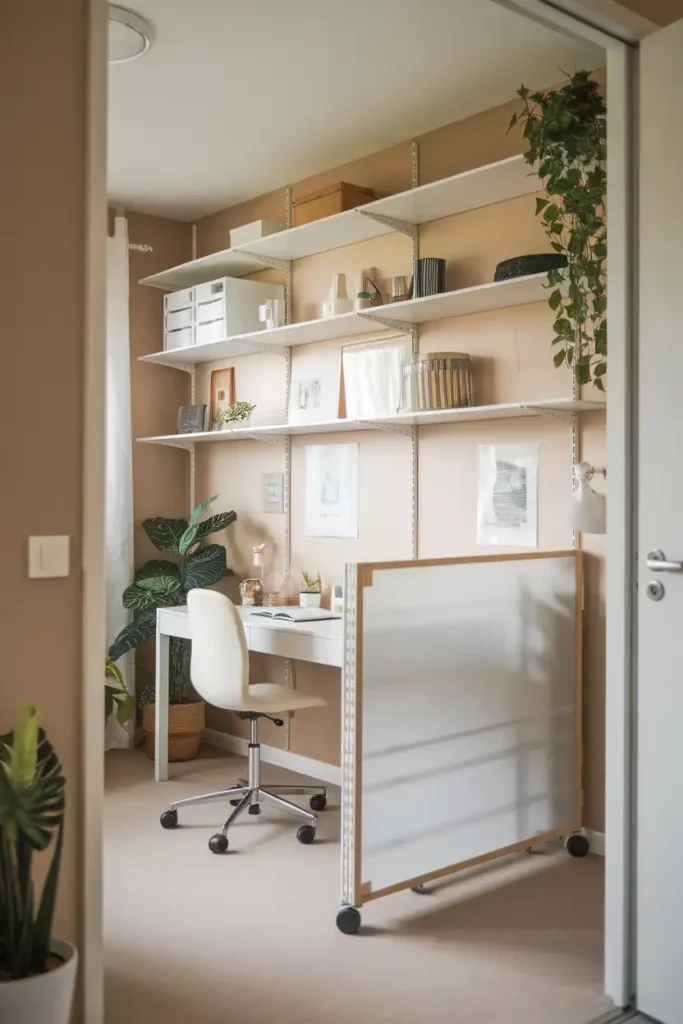
10: Half-Height Ivar Separation
The Ivar system offers a great way to create a partial room divider. You can use shorter Ivar units to make a half-height separation between spaces.
This lets you divide areas while keeping an open feel. It’s perfect for separating a dining area from a living room or creating a low barrier in a bedroom.
11: Rattan Insert Ivar Hack

Want to add a trendy touch to your Ivar room divider? Try adding rattan inserts. Cut rattan sheets to fit the Ivar frame openings.
Secure them with a staple gun or wood glue. This easy hack gives your divider a boho look and lets light filter through.